This project details the construction and calibration of a 114mm Hadley Newtonian Reflector telescope. Built using a combination of 3D-printed components, mechanical hardware, and spherical optics, this instrument serves as a practical application of geometric optics and structural engineering. The project involved managing tight tolerances during assembly, aligning the primary and secondary mirrors (collimation), and testing the optical train for astronomical observation.
Why a telescope?
I decided to build my own telescope because I wanted a fun and engaging way to get started with engineering through a hands-on project. It felt like a good opportunity to create something practical and rewarding. The idea of being able to observe planets in our solar system with a telescope I built myself also made the project especially exciting.


Preparing for Assembly
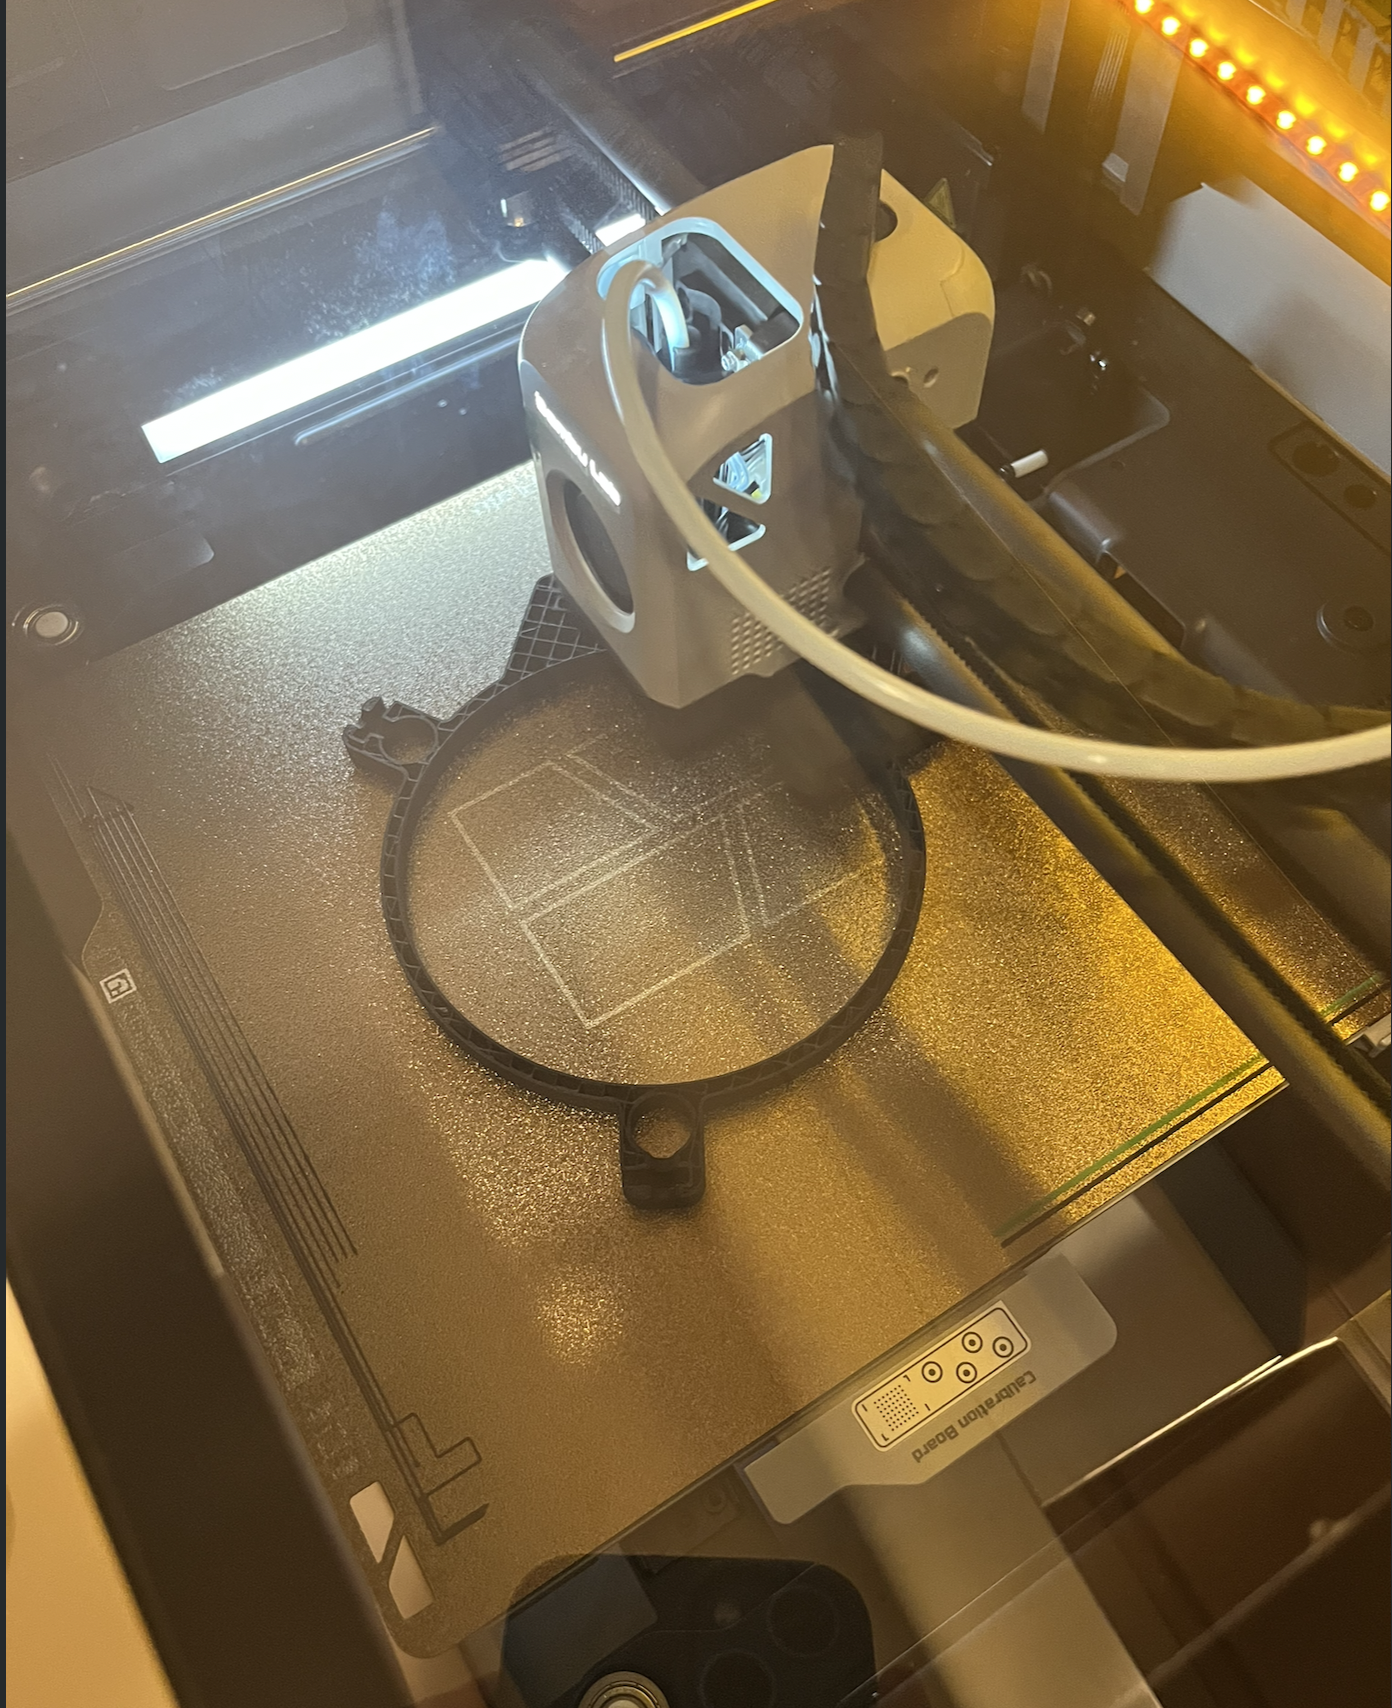

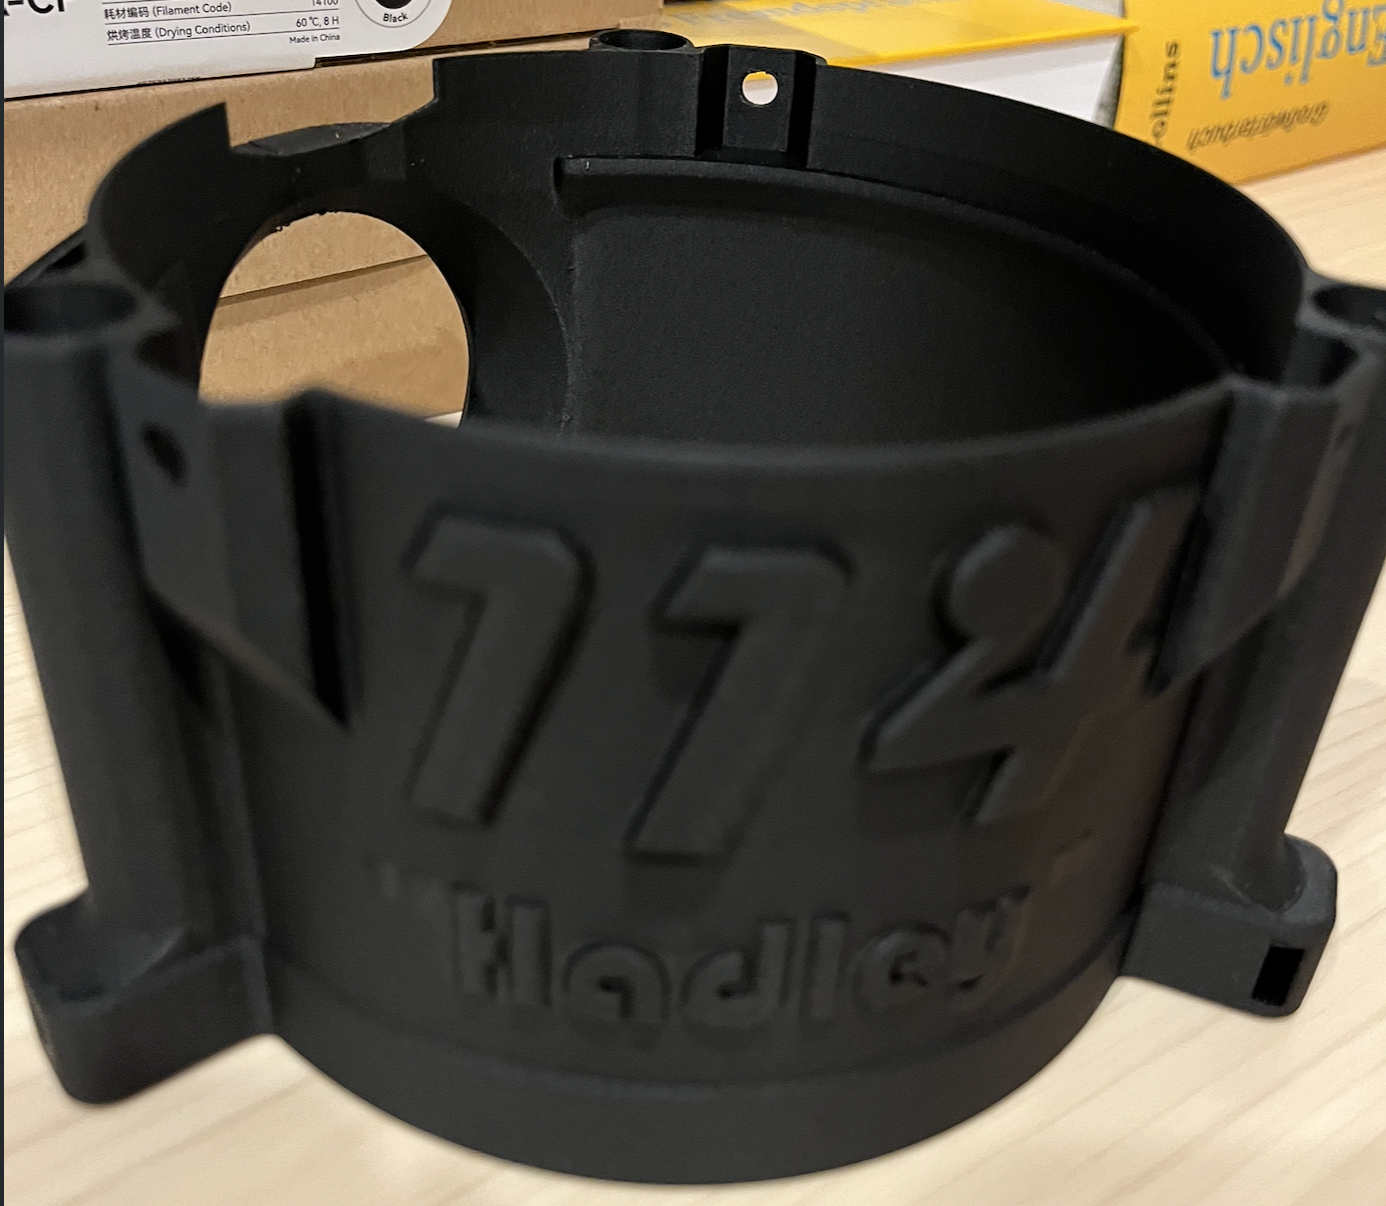
To build my telescope, I began by using my Bambu Lab X1-Carbon 3D printer with black PLA filament to produce all the necessary components for both the telescope and its base. I chose black filament to reduce stray light reflections when using the telescope.
The full build required printing approximately 15 to 20 individual parts, which took about one week of intermittent production to complete. Several of the larger structural components required overnight printing, with the single longest print job lasting roughly 8 hours (The Upper Tube Assembly)
For the structural support, I purchased ½-inch diameter steel rods, each 36 inches long, from Amazon. However, during assembly I discovered that the 3D-printable base design I had used required a different rod diameter than the telescope itself. The rods I initially bought were too narrow for the base, resulting in instability. To resolve this, I repurchased 18 mm diameter steel rods that matched the specifications of the design. Since only solid rods were available, the base became heavier than expected, making the telescope somewhat cumbersome to move.
Before beginning assembly, I purchased M4 hex socket cap screws, M4 hex bolts, standard nuts, nyloc nuts, and compression springs for the secondary mirror, along with a set of Allen keys for adjustments. I sourced all these components from RS Components Hong Kong, as they carried every item I needed and offered fast local delivery.
Challenges faced during Assembly
When assembling the upper tube, the 3D‑printed spider did not fit properly into the tube assembly. The dimensions were slightly off, which meant the part could not be installed as intended. To solve this, the part was adjusted in CAD and reprinted.
The hex nuts that had been purchased turned out to be slightly too small for comfortable use. Although they were still functional, it was difficult to screw in the bolts because the nuts kept spinning instead of staying in place. This meant it was necessary to hold the nut steady with one Allen key while tightening the screw with another, which was time‑consuming but eventually improved my coordination and patience.
Attaching the lower tube assembly was another unexpectedly challenging step. It was difficult to ensure that the lengths of the rods beneath the lower tube assembly were all equal so that the structure remained balanced. Achieving an even length on all rods took at least thirty minutes with the help of my younger brother.
At the beginning, it was also hard to get the screws to engage and lock properly with the nuts. The process felt slow and fiddly, and it took multiple attempts to understand how to align the threads correctly and apply the right amount of force. With practice over the course of the build, this became much easier, and by the end I was able to assemble these connections much faster.
Assembling the primary collimation cell was one of the most difficult parts of the build. The presence of springs made the whole assembly unstable, and the nuts had a tendency to slip out of position while the screws were being tightened. Securing everything correctly took at least thirty minutes and required A LOT of patience.
